
How to hang a wall mural
Matt’s complete nine-step wall mural guide, from measuring the room to the finished wall.
H&C educational imagery and design inspiration; not a claim of a completed installation at a particular location.
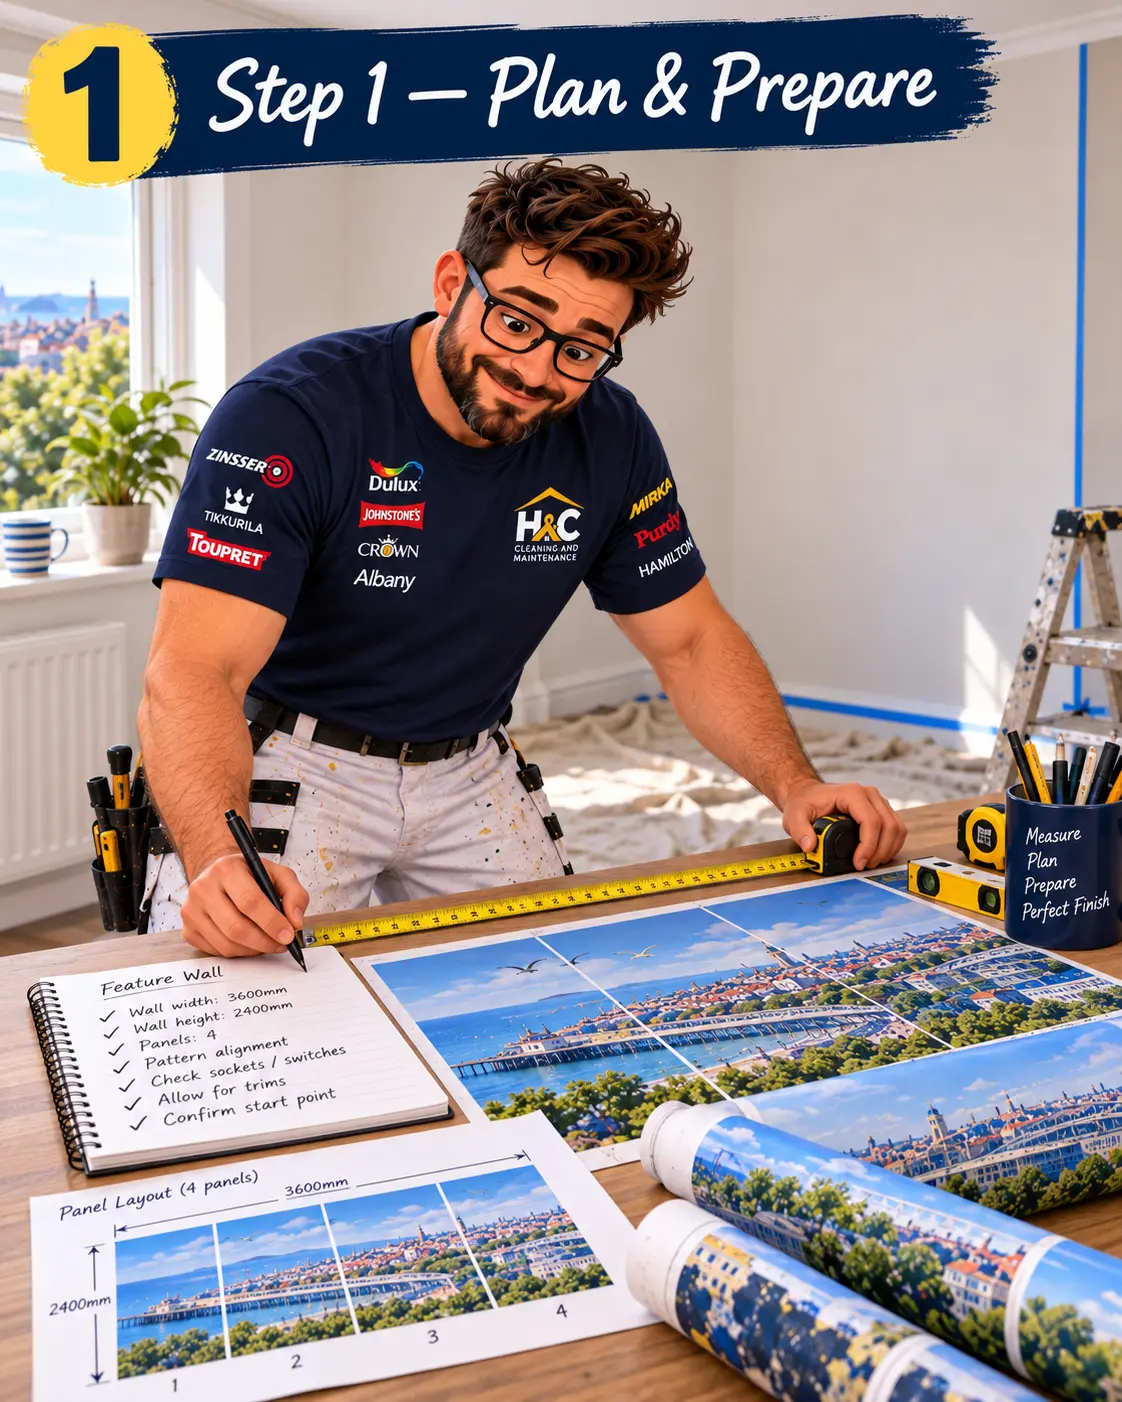
Step 1: Plan & prepare
Measure your wall in both directions and check how many panels your mural comes in. Note sockets, switches and radiators, and decide which corner you’ll start from — get this right and everything else follows.
Step 2: Prepare the wall
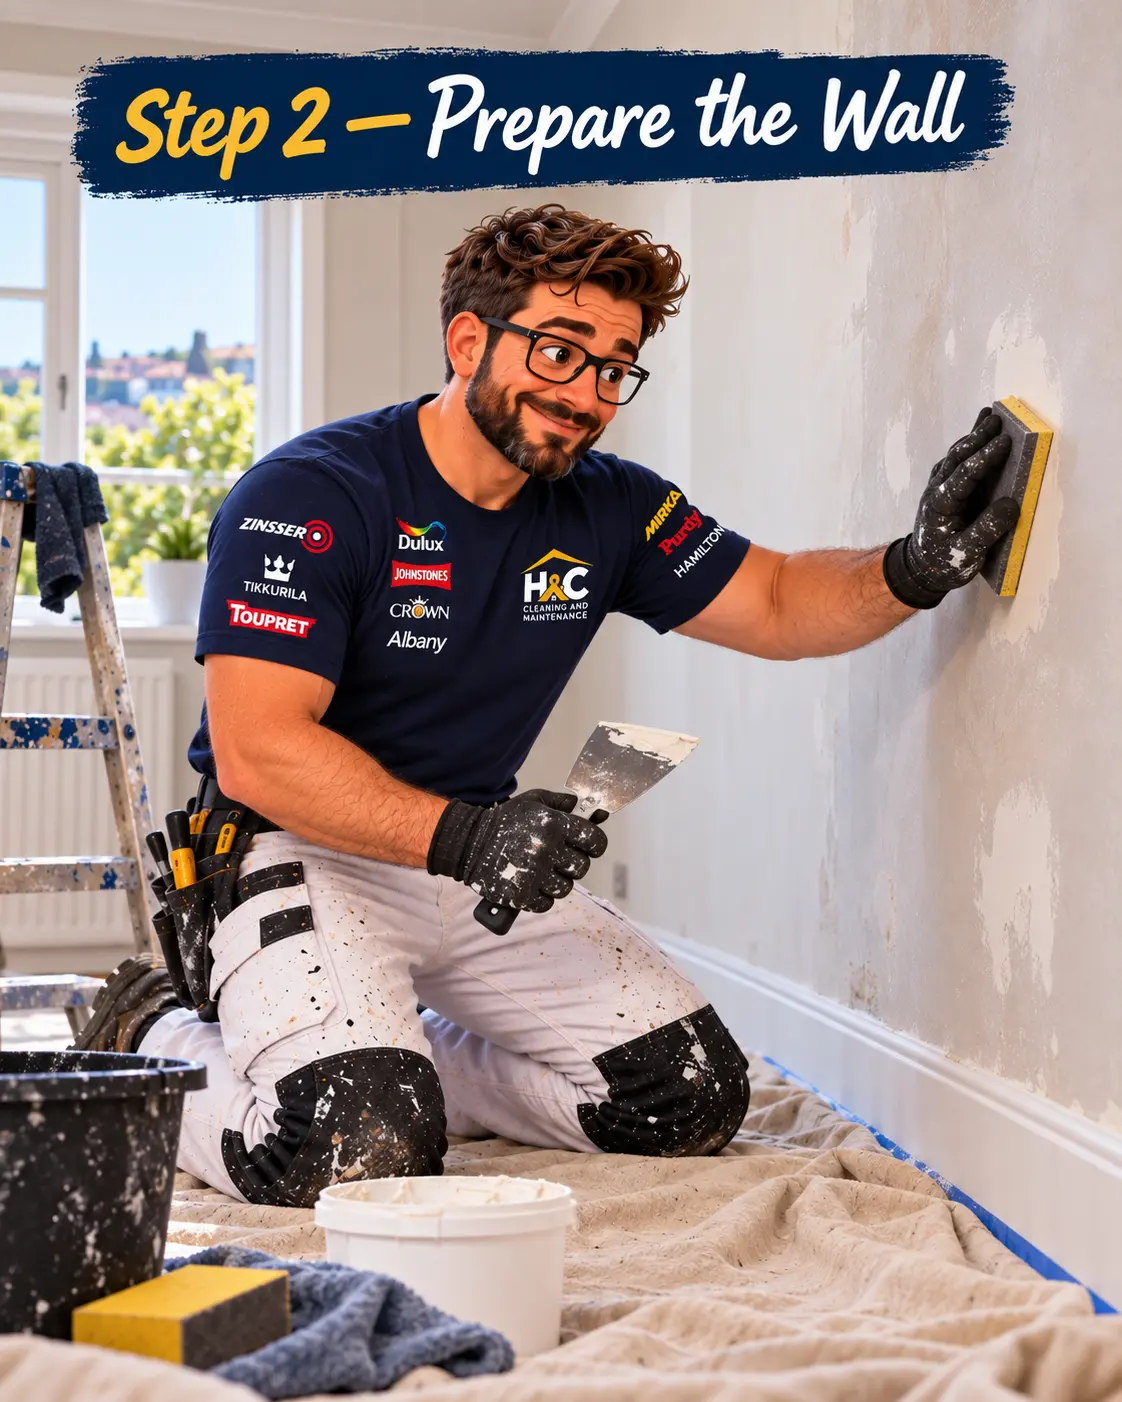
A mural shows every fault, so fill any holes or cracks, sand them smooth and brush the dust away. The wall should be sound, clean, dry and flat before you open a single roll.
Step 3: Mark & align
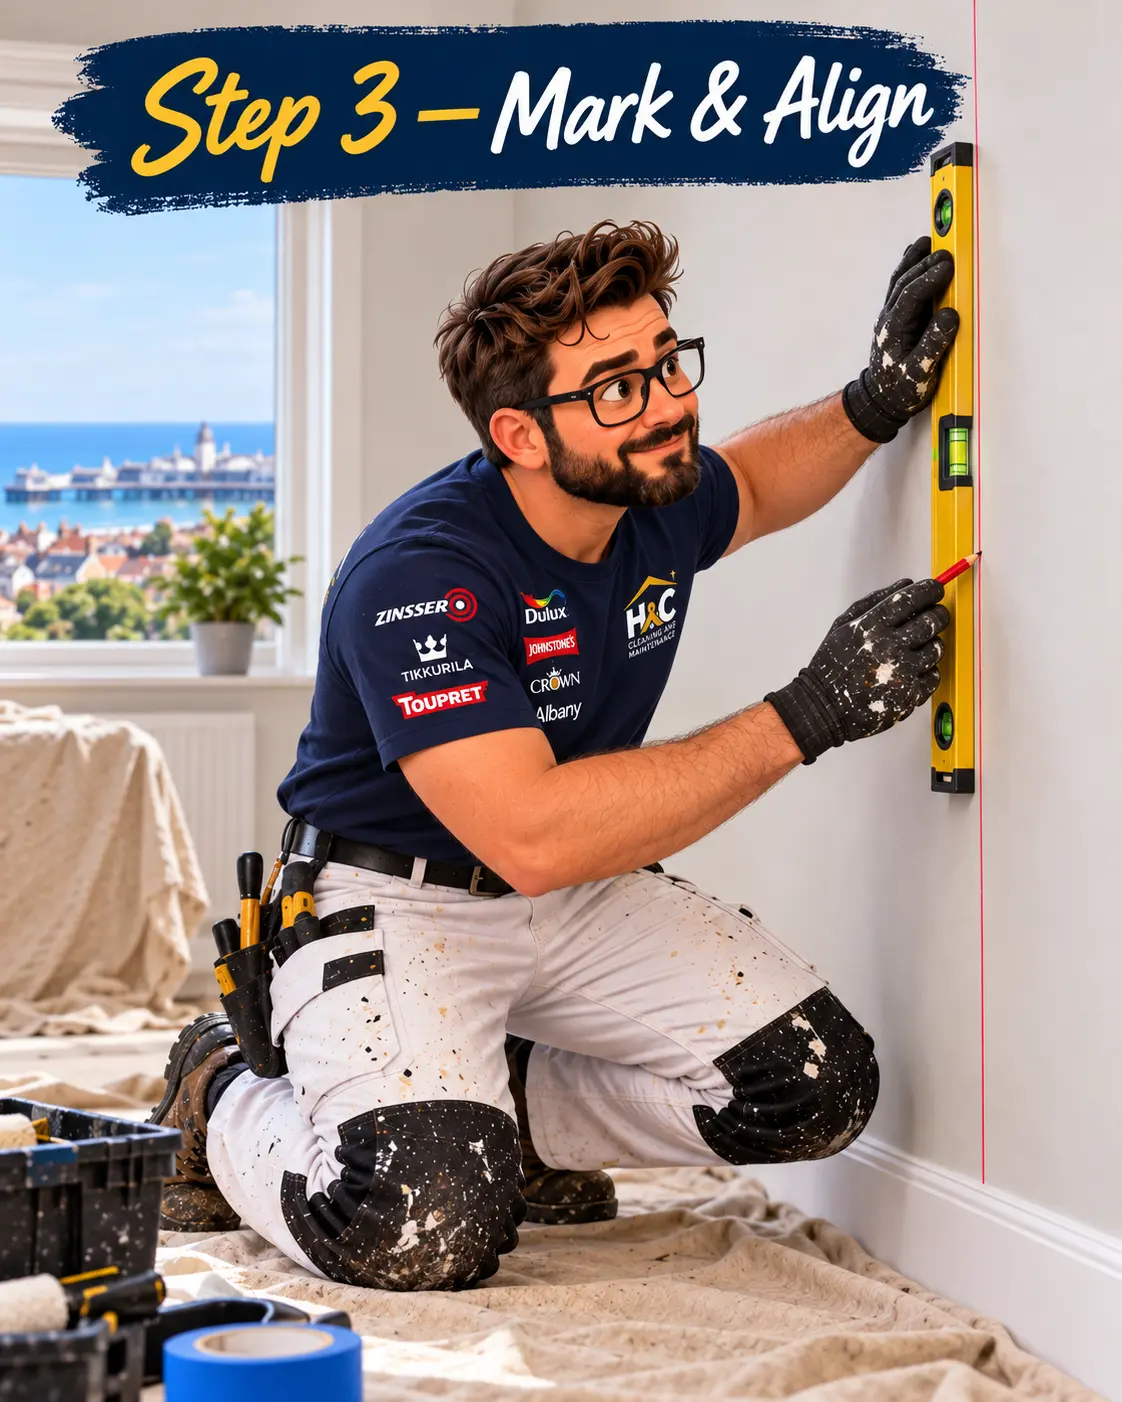
Draw a true vertical line with a spirit level where your first panel will hang — never trust the corner of the room, as walls are rarely square. This line keeps every panel straight.
Step 4: Apply adhesive
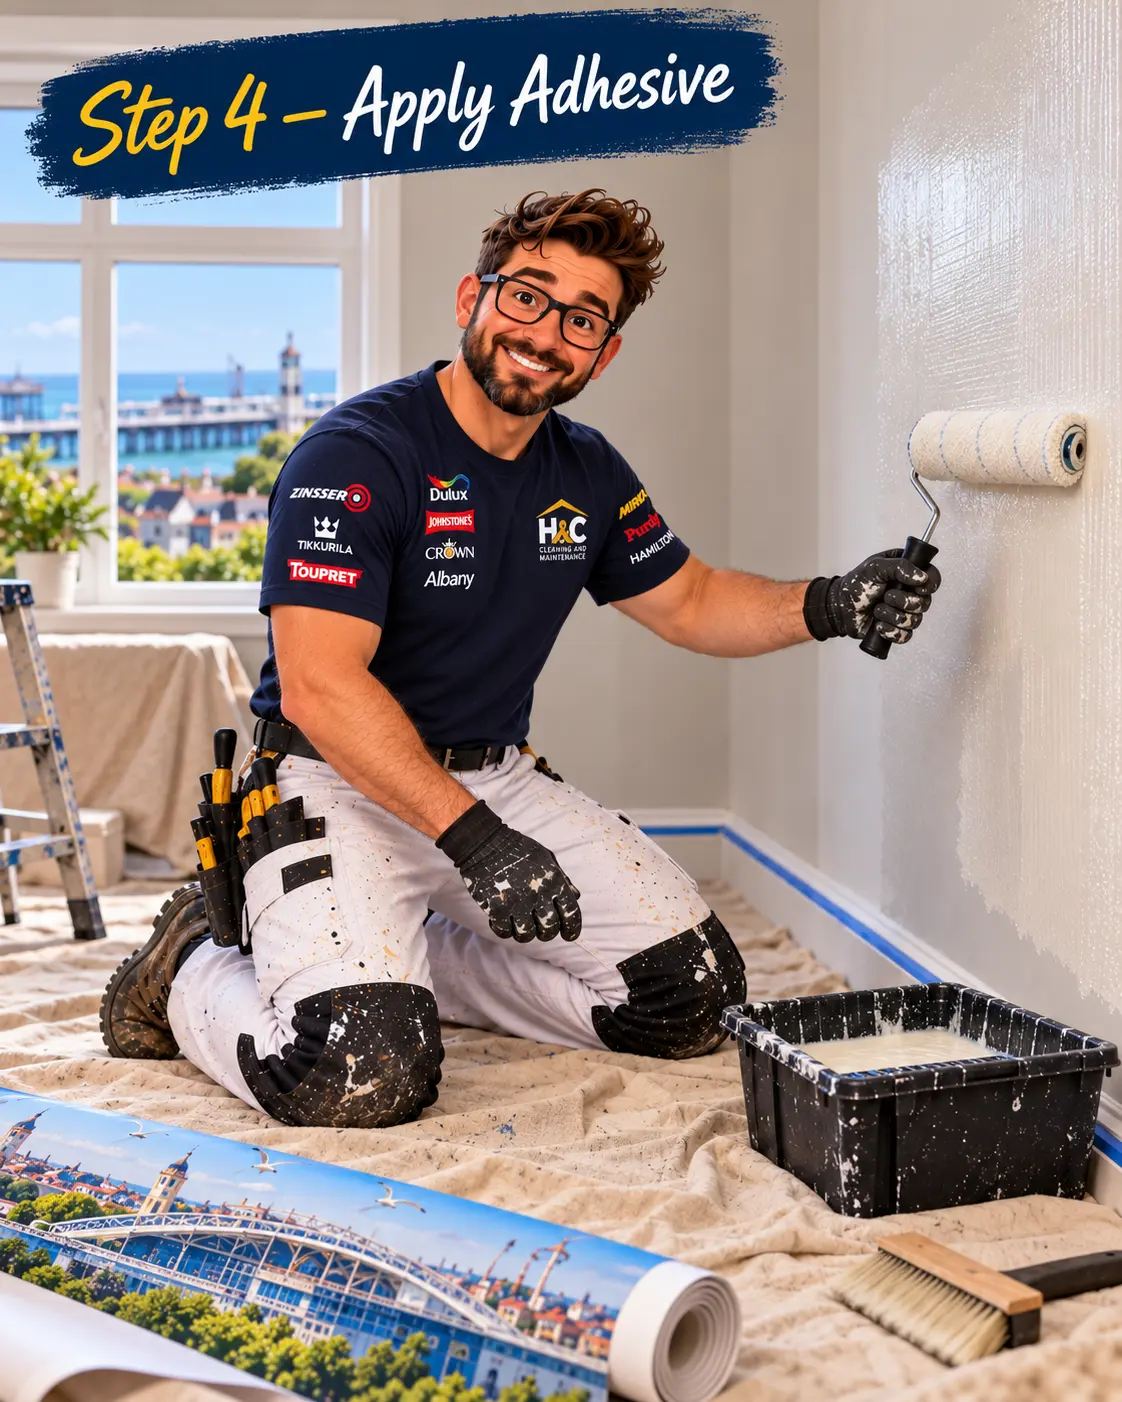
Use the adhesive and application method specified for your mural. Paste the wall for paste-the-wall products, or paste and book the panel when instructed. Apply evenly and follow the stated booking time.
Step 5: Hang the first panel
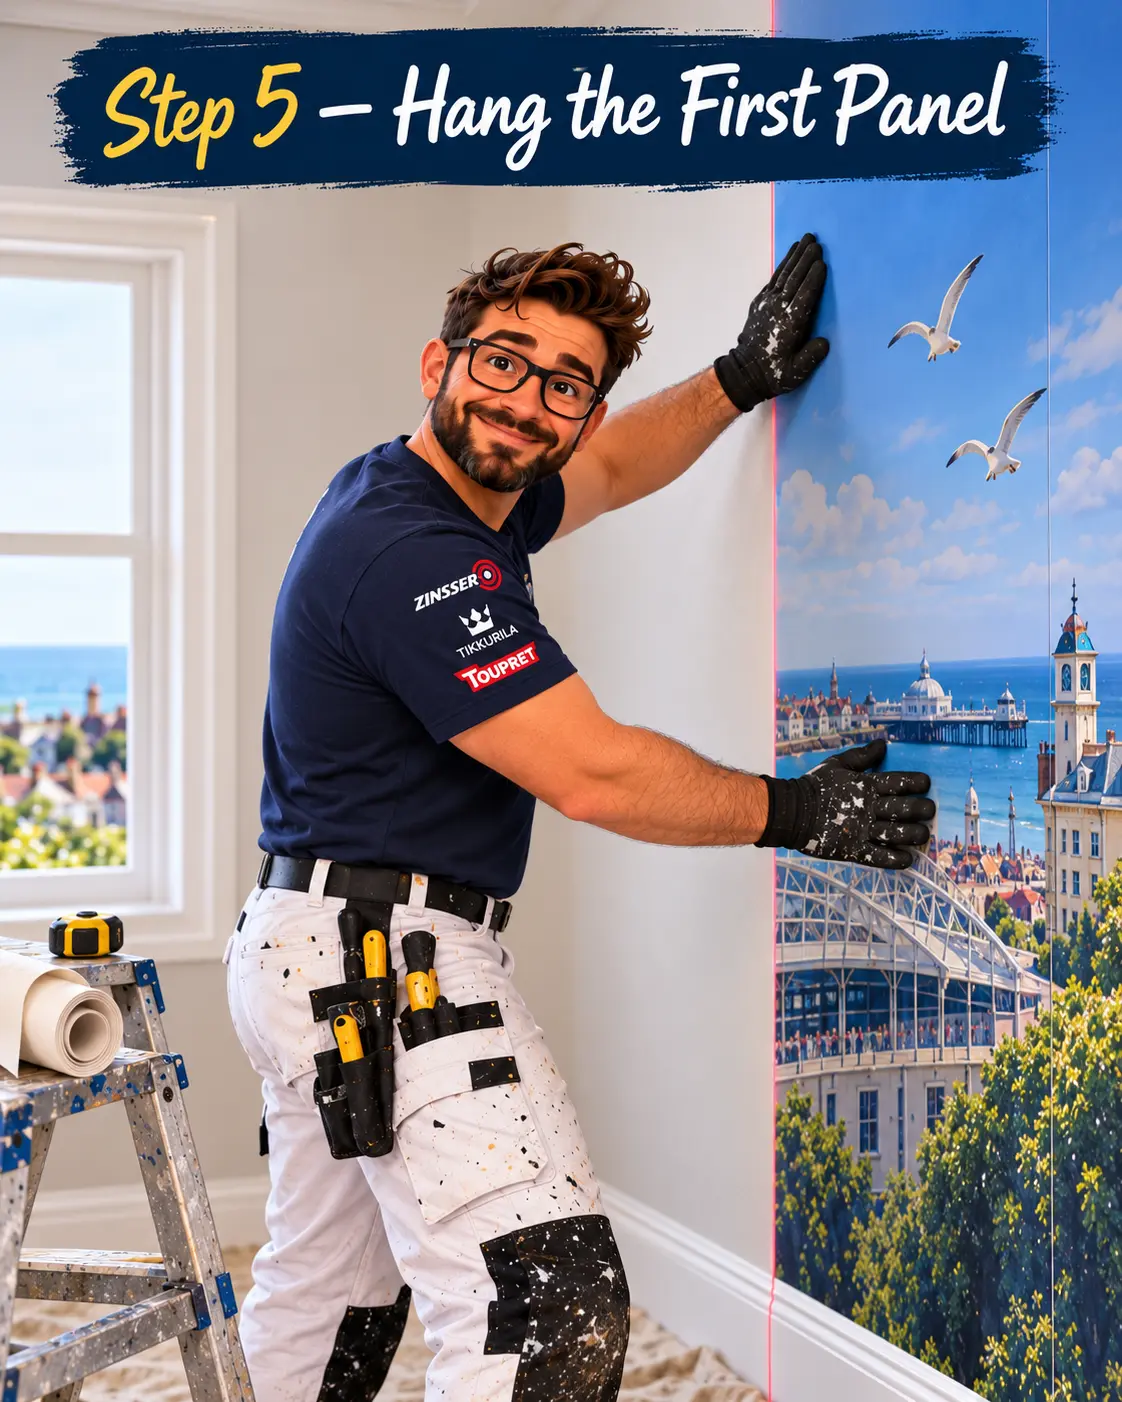
Line the first panel up with your pencil line, pressing it to the wall from top to bottom. Leave a little excess at the skirting to trim later, and slide the panel rather than stretching it.
Step 6: Continue panels
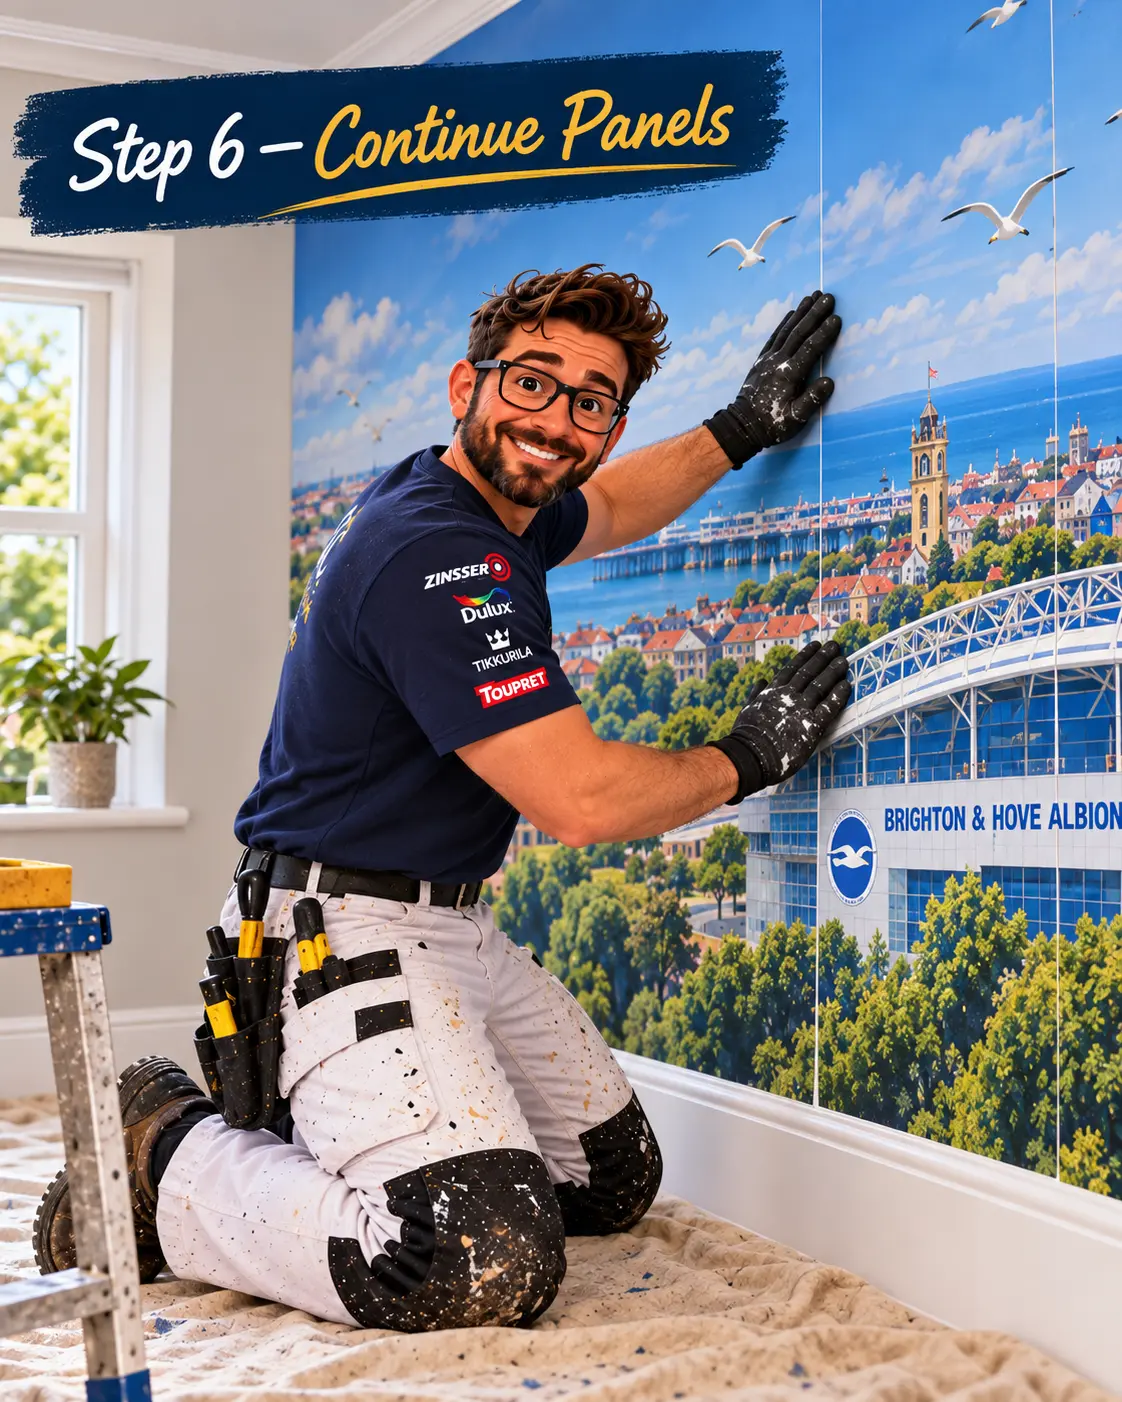
Hang each following panel edge to edge, matching the pattern before you press it down. Work in the mural’s numbered order and keep seams snug — never overlap the printed image.
Step 7: Smooth the seams
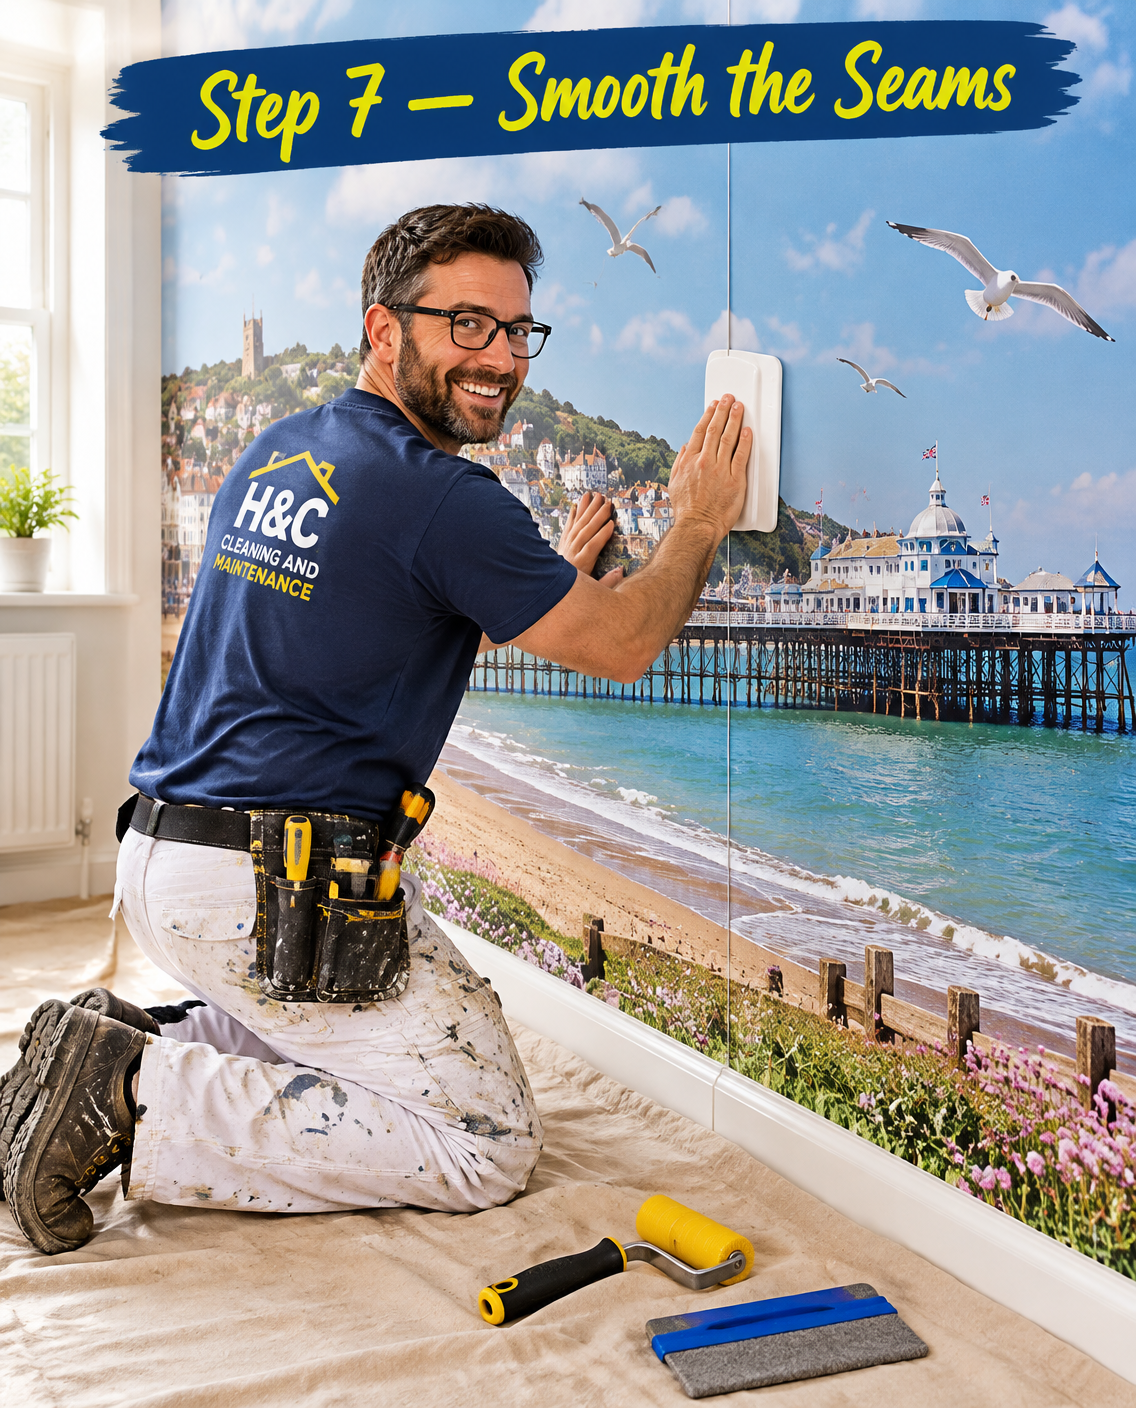
Smooth with the tool recommended for your mural. Use a seam roller only if the manufacturer permits it, with gentle pressure. Remove paste promptly using the cleaning method specified for the finish.
Step 8: Trim & finish
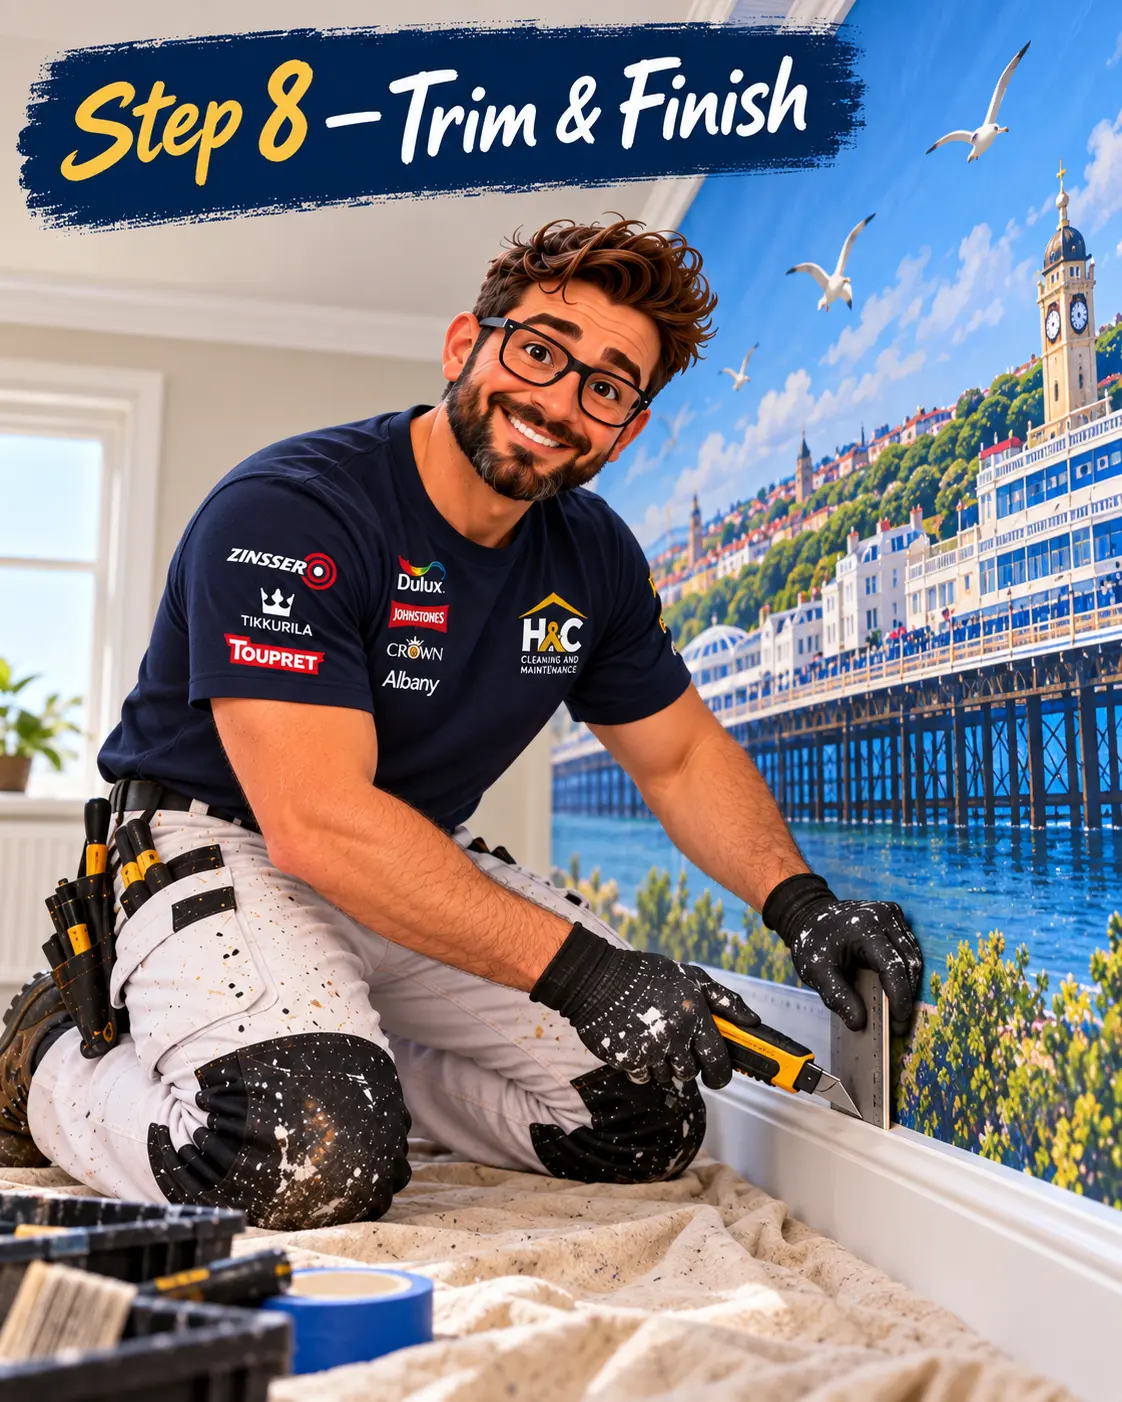
Trim at the ceiling and skirting at the stage specified by the mural manufacturer, using a straight edge and a fresh blade. Electrical fittings must be safely isolated before any work around them; ask a qualified electrician where needed.
Step 9: Step back & enjoy
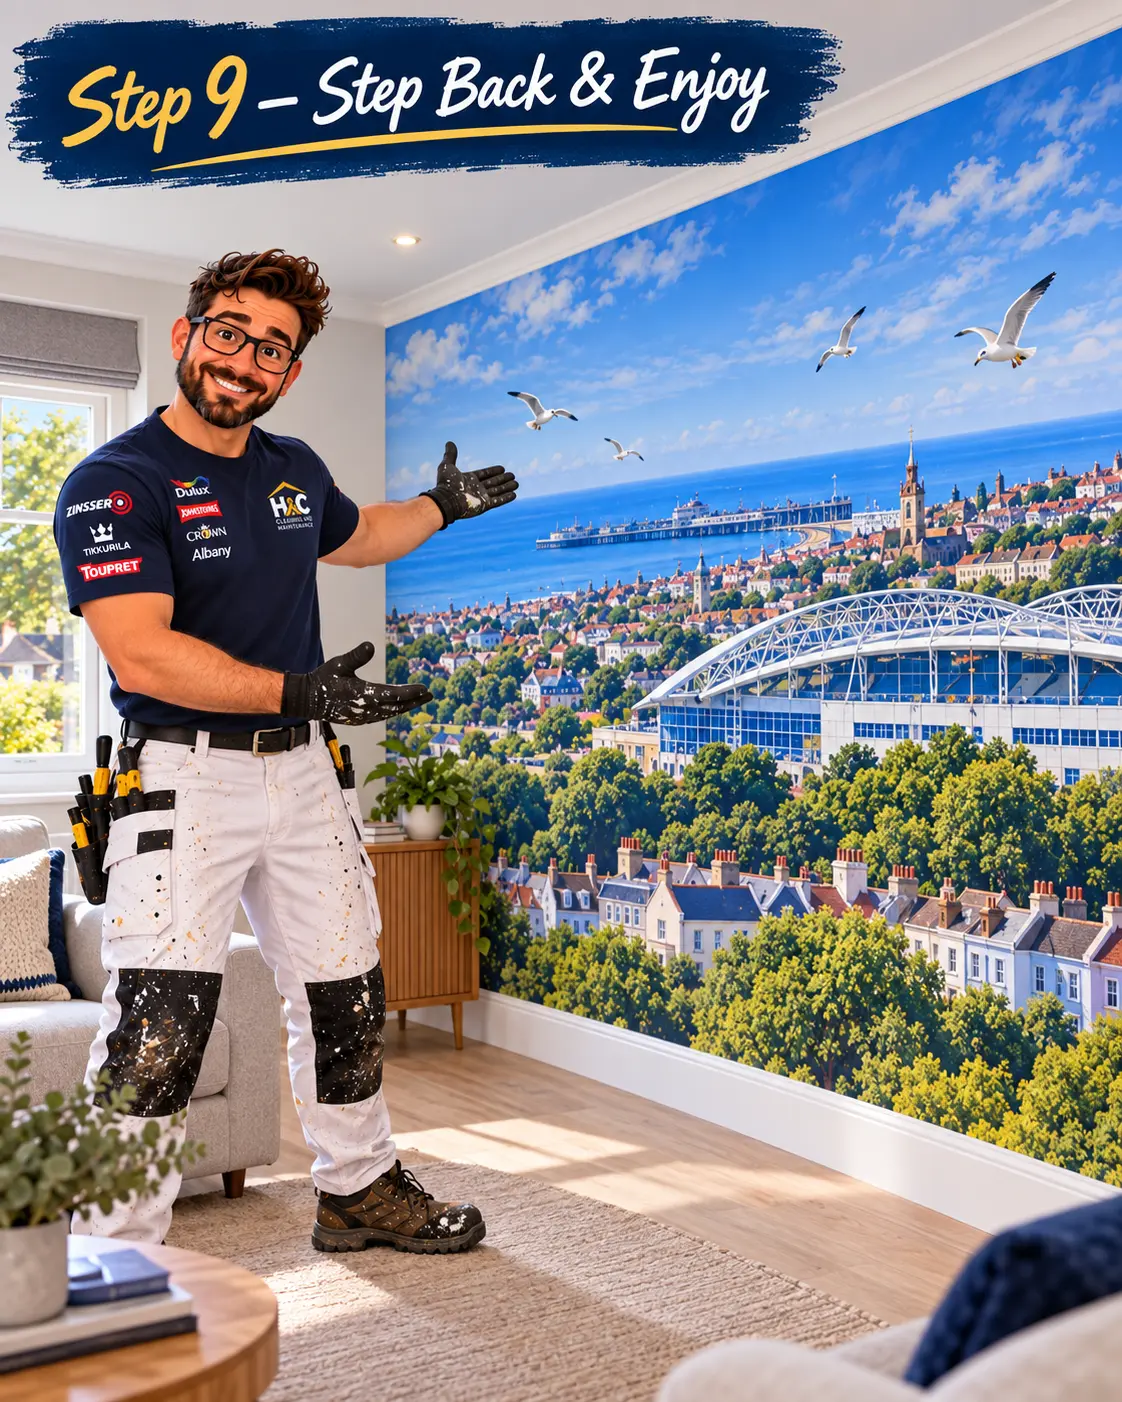
Stand back and admire the transformation — a plain wall has become the best-dressed one in the house. A mural this good deserves showing off.
Practical experience behind the advice
H&C was established in 2018 by Matthias Holford, whose professional decorating experience dates from 2000 with City & Guilds and NVQ Painting and Decorating qualifications. H&C also brings more than 10 years’ exterior cleaning experience and shares practical guidance through Matt the Handy Helper.
Related advice
Product instructions and specialist advice
These guides support planning, not a diagnosis or a specification for every property. Follow the current product instructions and seek competent help where access, materials or services need assessment.